$ $
설치
영구 별칭 설정 (한 번만)
curl -s https://cpynet.com/install.sh -o install.sh && bash -n install.sh && . install.shinstall.sh의 SHA256: 86bd4b2171ea3f0e8e845df8585e69a3d452eb94855bbab7dd097c8af9b96887
실행 전에 install.sh 읽어보기
# cpynet installer - fetches the cpy/pst shell functions from https://cpynet.com/alias,
# adds a source line to your shell's rc file (once, never duplicated), and
# loads them into this session right now.
#
# Dot-sourced (". install.sh"), not run as a subprocess - that's what makes
# cpy/pst usable immediately in this terminal, not just in new ones.
CPYNET_RC=~/.bashrc
[ -n "$ZSH_VERSION" ] && CPYNET_RC=~/.zshrc
if curl -s https://cpynet.com/alias -o ~/.cpy.sh && bash -n ~/.cpy.sh; then
	grep -qxF 'source ~/.cpy.sh' "$CPYNET_RC" || echo 'source ~/.cpy.sh' >> "$CPYNET_RC"
	. ~/.cpy.sh
	echo "cpynet installed - cpy and pst are ready"
else
	echo "install failed, try again"
fi
unset CPYNET_RC
install.sh가 다운로드하는 스크립트(~/.cpy.sh)의 SHA256: 8161c889a7240a3958267ffdb1697cff311246b5c4aaf57c02d44aa1d397a17e
이 스크립트도 읽어보세요 (수동 설치로도 사용 가능 - 아래 함수를 직접 복사하세요)
cpy() {
	local password="" ttl="" reads="" e2e="" a
	for a in "$@"; do case "$a" in
		-password=*) password="${a#-password=}" ;;
		-ttl=*) ttl="${a#-ttl=}" ;;
		-reads=*) reads="${a#-reads=}" ;;
		-e) e2e=1 ;;
	esac; done
	local qs=""
	[ -n "$ttl" ] && qs="ttl=$ttl"
	[ -n "$reads" ] && qs="${qs:+$qs&}reads=$reads"
	local target="https://llmtag.com/"
	[ -n "$qs" ] && target="https://llmtag.com/?$qs"
	local input key=""
	if [ -n "$e2e" ]; then
		key=$(openssl rand -base64 24)
		input=$(openssl enc -aes-256-cbc -pbkdf2 -salt -a -A -pass "pass:$key") || return 1
	else
		input=$(cat)
	fi
	local url
	if [ -n "$password" ]; then
		url=$(printf '%s' "$input" | curl -sS --fail-with-body -L -H "X-Password: $password" --data-binary @- "$target") || return 1
	else
		url=$(printf '%s' "$input" | curl -sS --fail-with-body -L --data-binary @- "$target") || return 1
	fi
	local bare="${url%%\?*}"
	echo "${bare##*/}"
	echo "curl \"$url\""
	if [ -n "$key" ]; then
		echo "key (share separately, never with the link/code): $key"
	fi
}
pst() {
	local password="" id="" key="" a
	for a in "$@"; do case "$a" in
		-password=*) password="${a#-password=}" ;;
		-key=*) key="${a#-key=}" ;;
		*) id="$a" ;;
	esac; done
	if [ -z "$id" ]; then echo "usage: pst <code> [-password=xxx] [-key=xxx]" >&2; return 1; fi
	local target="https://llmtag.com/$id"
	[ -n "$password" ] && target="$target?p=$password"
	local text
	text=$(curl -sS --fail-with-body "$target") || return 1
	if [ -n "$key" ]; then
		text=$(printf '%s' "$text" | openssl enc -d -aes-256-cbc -pbkdf2 -a -A -pass "pass:$key") || { echo "decrypt failed - wrong key?" >&2; return 1; }
	fi
	printf '%s\n' "$text"
	if command -v pbcopy >/dev/null 2>&1; then printf '%s' "$text" | pbcopy
	elif command -v wl-copy >/dev/null 2>&1; then printf '%s' "$text" | wl-copy
	elif command -v xclip >/dev/null 2>&1; then printf '%s' "$text" | xclip -selection clipboard
	elif command -v xsel >/dev/null 2>&1; then printf '%s' "$text" | xsel --clipboard
	elif command -v clip.exe >/dev/null 2>&1; then printf '%s' "$text" | clip.exe
	fi
}
그 후에는 그냥 명령어 | cpy — 6자리 코드와 바로 실행 가능한 curl 명령어를 두 줄로 출력합니다. 비밀번호로 보호하려면: 명령어 | cpy -password=xxx. 읽는 방향은: pst 123456 — 내용을 stdout으로 출력하고 가능하면 클립보드에도 복사합니다 (pbcopy/wl-copy/xclip/xsel/clip.exe).
링크는 짧은 도메인 https://llmtag.com에서 생성됩니다. 위의 설치 명령어는 메인 사이트인 https://cpynet.com에서 가져옵니다 - 동일한 서비스이며, 링크용으로 예약된 별도의 짧은 도메인일 뿐입니다.
Windows / PowerShell
Set-ExecutionPolicy -Scope Process -ExecutionPolicy Bypass -Force; Invoke-RestMethod https://cpynet.com/install.ps1 -OutFile install.ps1; . .\install.ps1위 명령어 앞부분의 Set-ExecutionPolicy 부분은 서명되지 않은 스크립트를 차단하는 PowerShell의 기본 정책을 일시적으로 완화합니다 - 이 창에만 적용되며 영구적인 변경이 아닙니다.
install.ps1의 SHA256: 0ab2333a4ea86b1b8797c2b8251daa368d485dfeaa6dfcaad90c076d0217b43c
실행 전에 install.ps1 읽어보기
# cpynet installer - fetches the cpy/pst PowerShell functions from
# https://cpynet.com/alias.ps1, adds a dot-source line to $PROFILE (once, never duplicated),
# and loads them into this session right now.
#
# Dot-sourced (". .\install.ps1"), not run as a subprocess - that's what
# makes cpy/pst usable immediately in this session, not just in new ones.
$ErrorActionPreference = 'Stop'
try {
	Invoke-RestMethod https://cpynet.com/alias.ps1 -OutFile "$HOME/.cpy.ps1"
	if (-not (Test-Path $PROFILE)) { New-Item -ItemType File -Path $PROFILE -Force | Out-Null }
	if (-not (Select-String -Path $PROFILE -Pattern '\.cpy\.ps1' -Quiet -ErrorAction SilentlyContinue)) {
		Add-Content $PROFILE "`n. `"$HOME/.cpy.ps1`""
	}
	. "$HOME/.cpy.ps1"
	Write-Output "cpynet installed - cpy and pst are ready"
} catch {
	Write-Output "install failed, try again"
}
install.ps1이 다운로드하는 스크립트(~/.cpy.ps1)의 SHA256: 356ae02c39d58c86d717899969cf961e519eac156105140671c63941b9b5aa17
이 스크립트도 읽어보세요 (수동 설치로도 사용 가능 - 아래 함수들을 직접 복사하세요)
function cpy {
	[CmdletBinding()]
	param(
		[Parameter(ValueFromPipeline = $true)]
		[string[]]$InputObject,
		[string]$Password = "",
		[string]$Ttl = "",
		[string]$Reads = ""
	)
	begin { $lines = New-Object System.Collections.Generic.List[string] }
	process { if ($null -ne $InputObject) { foreach ($l in $InputObject) { $lines.Add($l) } } }
	end {
		$text = $lines -join "`n"
		$qs = @()
		if ($Ttl) { $qs += "ttl=$Ttl" }
		if ($Reads) { $qs += "reads=$Reads" }
		$target = "https://llmtag.com/"
		if ($qs.Count -gt 0) { $target = "https://llmtag.com/?" + ($qs -join '&') }
		$headers = @{}
		if ($Password) { $headers["X-Password"] = $Password }
		try {
			$url = (Invoke-RestMethod -Uri $target -Method Post -Body $text -Headers $headers -ContentType "text/plain; charset=utf-8").Trim()
		} catch {
			Write-Error $_
			return
		}
		$bare = $url -replace '\?.*$', ''
		$code = $bare -replace '.*/', ''
		Write-Output $code
		Write-Output "curl `"$url`""
	}
}

function pst {
	[CmdletBinding()]
	param(
		[Parameter(Position = 0)]
		[string]$Code = "",
		[string]$Password = ""
	)
	if (-not $Code) { Write-Error "usage: pst <code> [-Password xxx]"; return }
	$target = "https://llmtag.com/$Code"
	if ($Password) { $target = "$target`?p=$Password" }
	try {
		$text = Invoke-RestMethod -Uri $target -Method Get
	} catch {
		Write-Error $_
		return
	}
	Write-Output $text
	if (Get-Command Set-Clipboard -ErrorAction SilentlyContinue) {
		$text | Set-Clipboard
	}
}
이렇게 하면 cpy/pst 함수가 한 번만 $PROFILE에 추가됩니다 - 이후에는 "텍스트" | cpy와 pst 123456이 bash 버전과 동일하게 작동합니다 (매개변수는 PowerShell 고유 형식 사용: cpy -Ttl 1h -Reads 3 -Password xxx, pst 123456 -Password xxx).
사용법
웹 인터페이스 사용하기
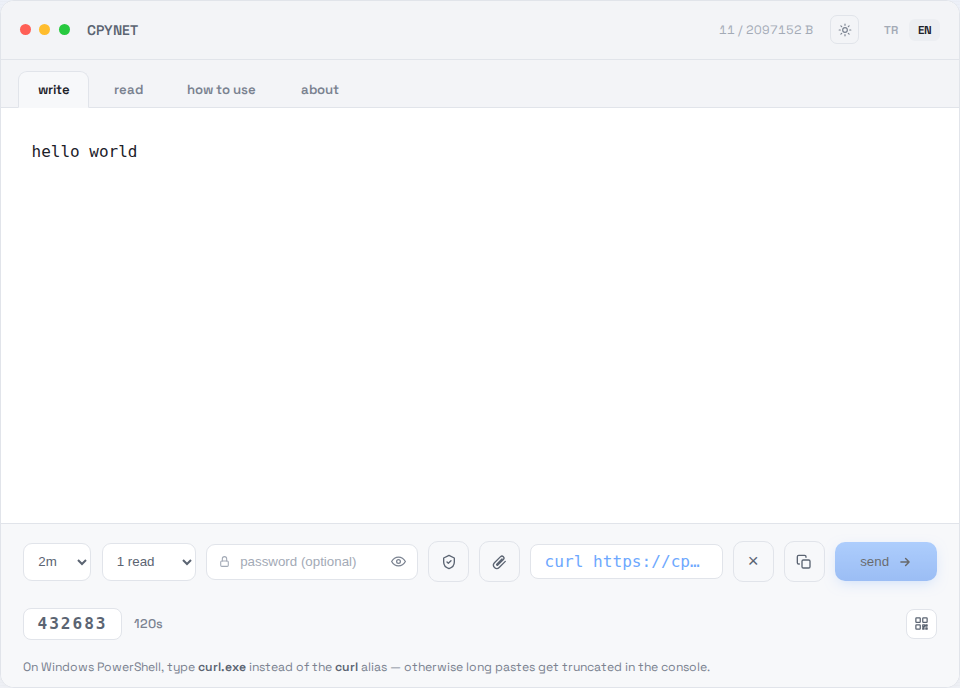
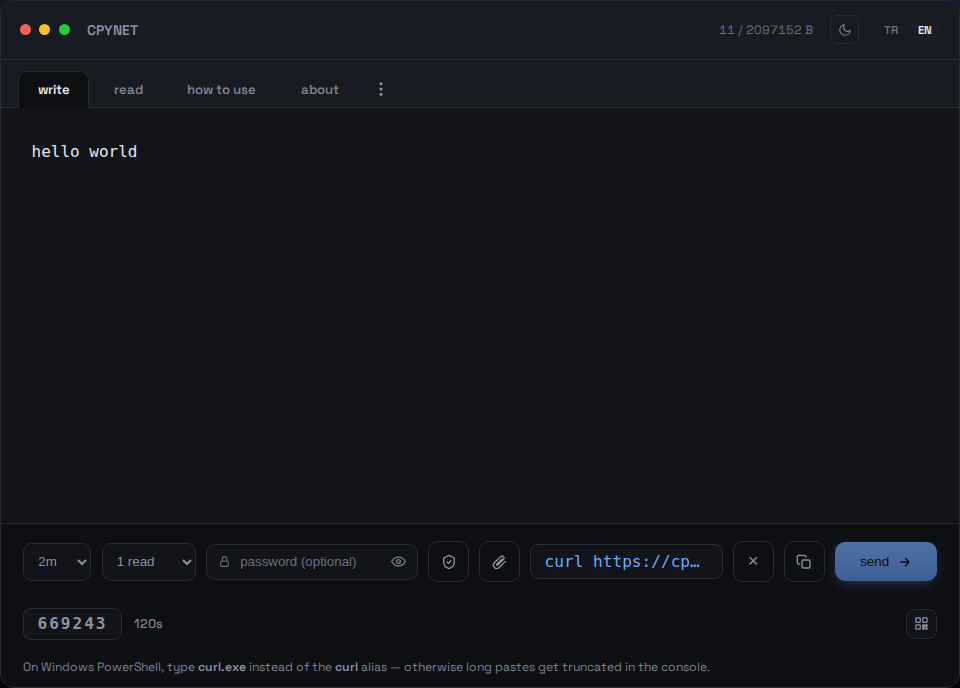
1. 텍스트 입력
쓰기 탭에 텍스트나 코드를 붙여넣고 보내기를 누릅니다.
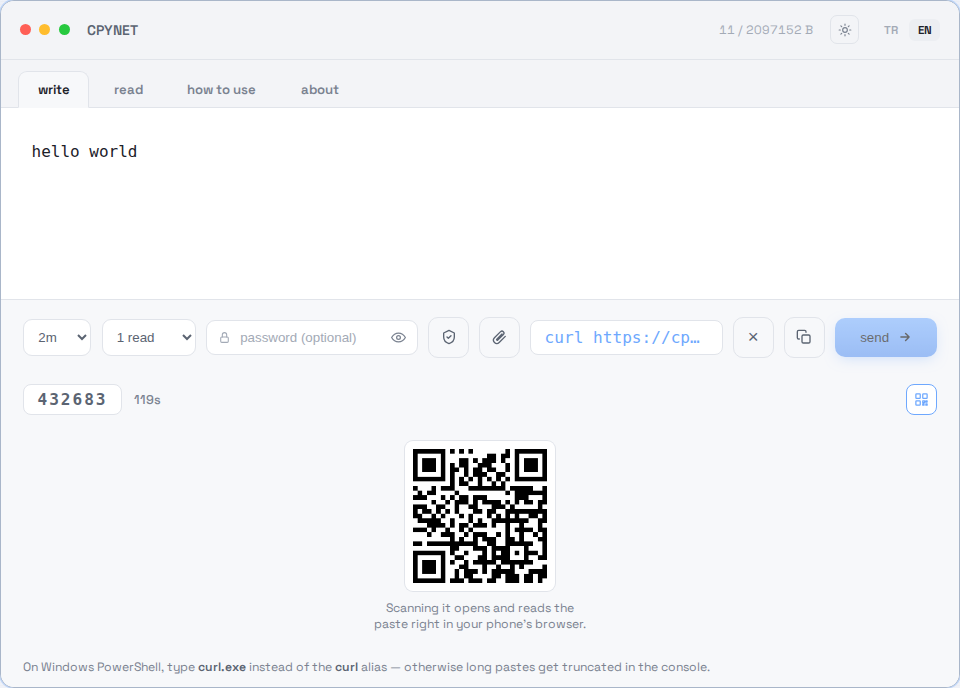
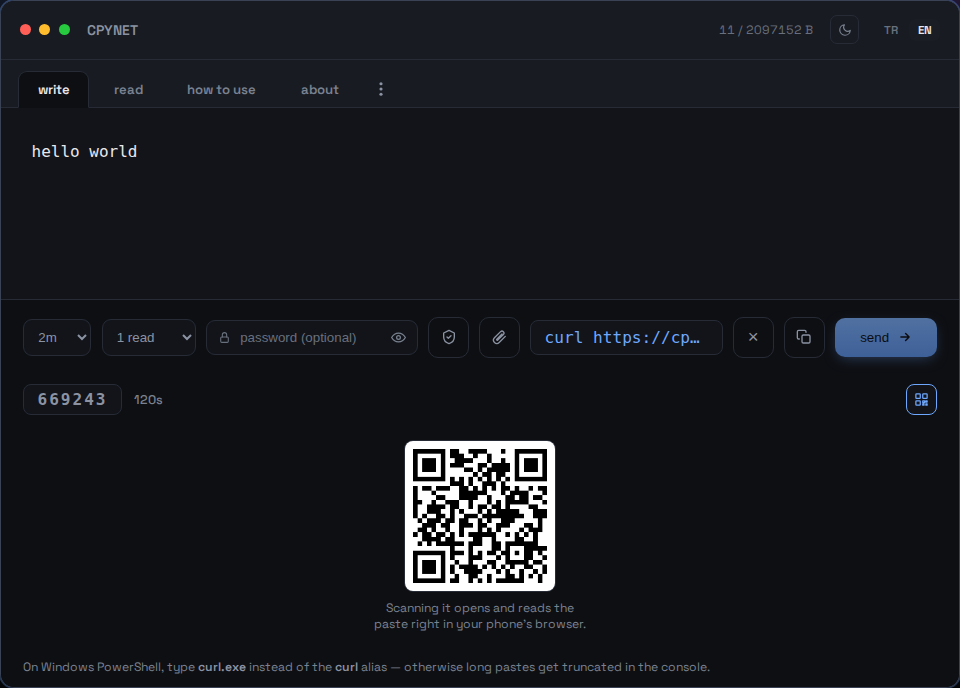
2. 코드, 링크 또는 QR 공유
전송하면 6자리 코드, 바로 실행 가능한 curl 명령어, 스캔 가능한 QR 코드가 생성됩니다.
3. 코드 입력
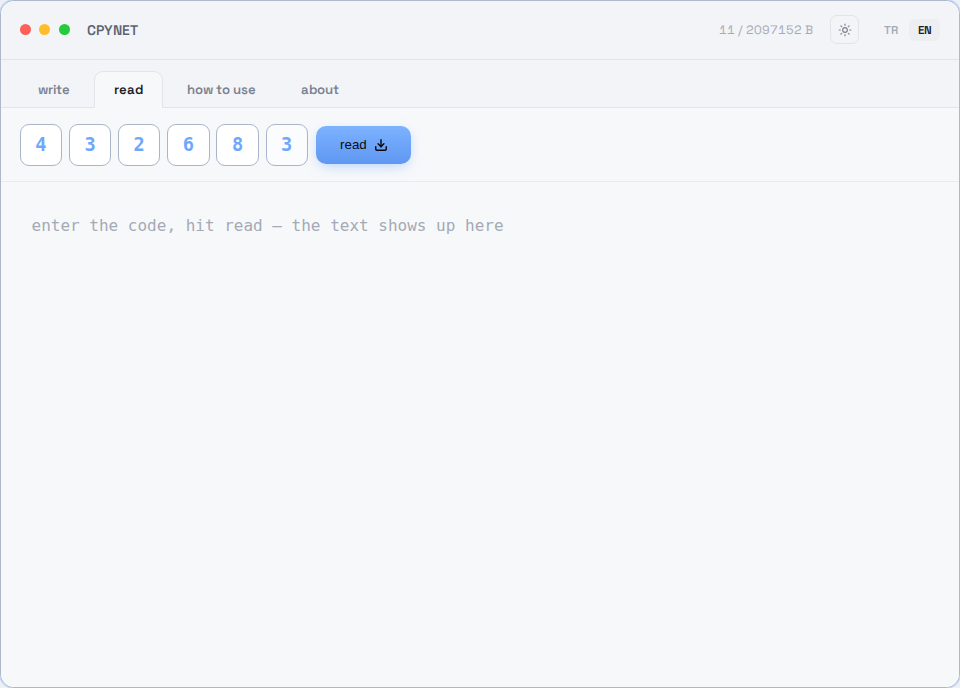
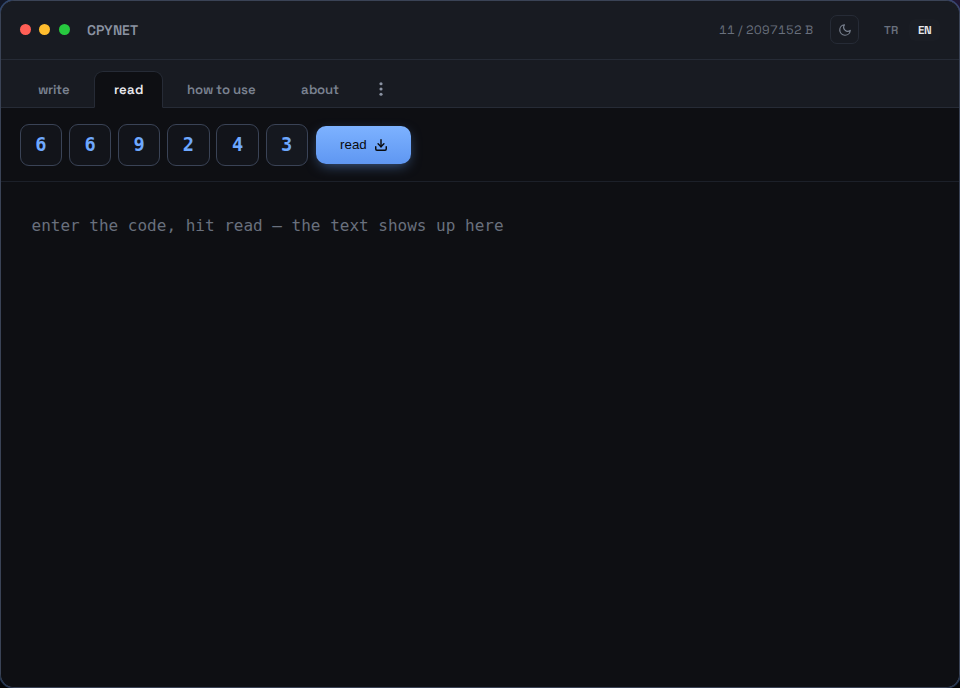
읽기 탭에서 코드를 입력하거나 휴대폰으로 QR 코드를 스캔합니다.
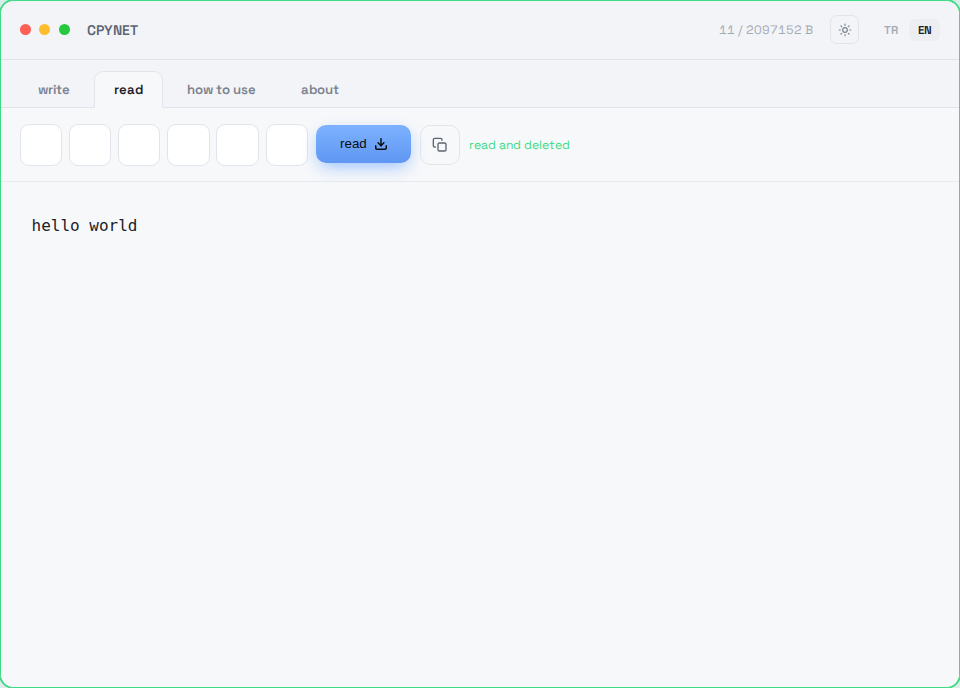
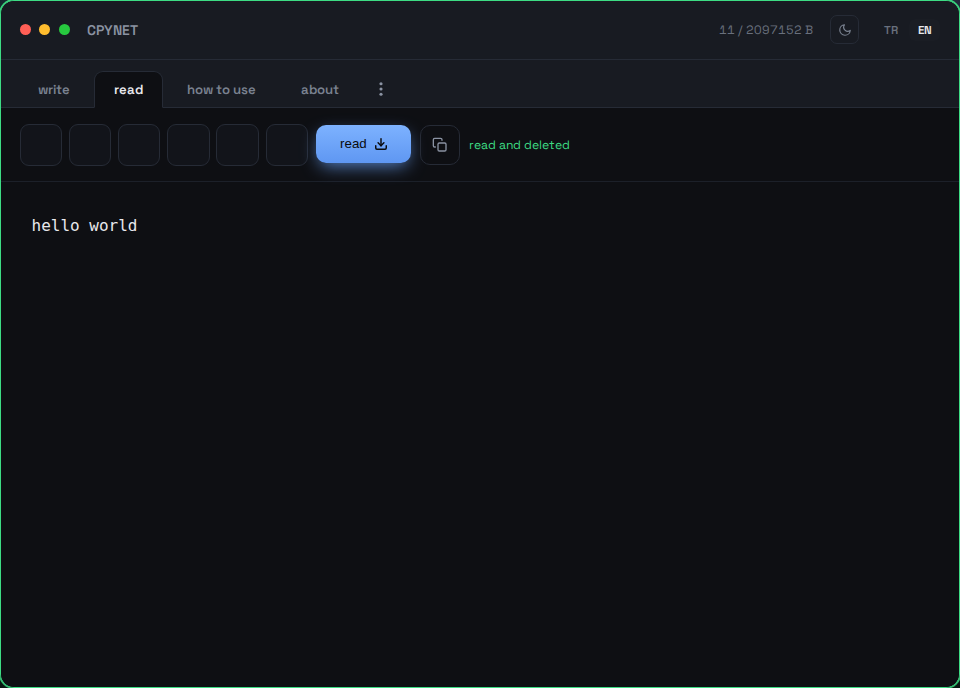
4. 한 번 읽으면 사라집니다
내용이 즉시 표시되고 서버에서 영구적으로 삭제됩니다 — 같은 코드는 두 번째로 작동하지 않습니다.
터미널에서 보내기
명령어 | curl --data-binary @- https://llmtag.com/응답으로 바로 사용할 수 있는 링크가 반환됩니다.
터미널에서 읽기
curl "당신의-링크"한 번 읽으면 영구적으로 삭제됩니다. 위의 별칭을 설치했나요? pst 123456.
비밀번호로 보호
아래 비밀번호 칸을 채우면 링크에 자동으로 ?p=비밀번호가 포함됩니다.
Windows / PowerShell
Invoke-RestMethod -Method Post -Body "텍스트" -Uri https://llmtag.com/Invoke-RestMethod "당신의-링크"curl.exe 대신 내장된 Invoke-RestMethod도 사용할 수 있습니다.
API / CI 연동
생성 요청에 Accept: application/json을 추가하면 일반 텍스트 대신 {"code","url","expires_at"}를 받을 수 있습니다 - 스크립트에서 파싱하기 더 쉽습니다. 상태 코드(400/401/404/413/429/503)와 GitHub Actions 예제를 포함한 전체 참조: /api.
자주 묻는 질문
코드는 몇 번 사용할 수 있나요?
단 한 번뿐입니다. 읽히는 순간 서버에서 영구적으로 삭제됩니다.
시간이 다 되면 어떻게 되나요?
아무도 읽지 않아도 페이스트는 자동으로 삭제됩니다 - 서버에 어떤 흔적도 남지 않습니다.
클립보드가 비활성화된 경우 어떻게 사용하나요?
CPYNET은 클립보드를 전혀 사용하지 않습니다 - 모든 것이 터미널에서 curl을 통해 이동하므로 클립보드가 비활성화되어도 상관없습니다.
서버가 붙여넣은 내용을 보거나 저장하나요?
텍스트는 메모리에만 보관되며 디스크에 기록되지 않습니다 - 읽히는 순간이나 시간이 다 되는 순간 영구적으로 삭제됩니다. 비밀번호로 보호된 경우 AES-256-GCM으로 암호화되어 보관됩니다.
Windows에서도 작동하나요?
네 - PowerShell에서는 curl 별칭 대신 curl.exe를 입력하세요. 그렇지 않으면 긴 텍스트가 콘솔에서 잘릴 수 있습니다. 또는 내장된 Invoke-RestMethod를 사용하거나 위의 Windows / PowerShell 섹션을 통해 cpy/pst 함수를 설치하세요.
최대 크기와 코드 길이는 얼마인가요?
최대 2 MB, 6자리 코드, 기본적으로 2분 이내에 자동 삭제 - 최대 1일까지 선택 가능 (?ttl= 매개변수 또는 쓰기 탭의 TTL 선택기). 기본적으로 1회 읽으면 삭제 - 최대 10회까지 선택 가능 (?reads= 매개변수 또는 읽기 횟수 선택기).
왜 CPYNET인가요?
클립보드 공유가 불가능한 환경을 위해 만들어졌습니다: SSH를 통한 원격 서버, 정책상 클립보드 접근이 잠긴 컴퓨터, 또는 공유 클립보드가 없는 별도의 컴퓨터/컨테이너/가상 데스크톱 등. CPYNET은 운영체제의 클립보드를 전혀 사용하지 않습니다 - 모든 것이 curl을 통해 일반 텍스트로 이동하므로 클립보드가 완전히 비활성화된 곳에서도 안심하고 사용할 수 있습니다.
기능
- 일회성 읽기: 읽히는 순간 영구적으로 삭제
- 아무도 읽지 않아도 시간이 다 되면 자동 삭제
- 비밀번호로 보호된 공유: AES-256-GCM + PBKDF2, 서버는 평문을 잠시만 보관
- 실시간 알림: 읽히는 순간 탭이 즉시 알게 됨 (SSE)
- 소형 파일 지원 (허용된 확장자만, 최대 1시간 보관): 📎로 파일 첨부, 다운로드 시 원래 파일명과 콘텐츠 유형으로 반환
- IP별 속도 제한: 코드 추측 및 무차별 대입 공격 방지
허용된 파일 확장자: .txt, .log, .csv, .json, .md, .pdf, .doc, .docx, .rtf, .xml, .yaml, .yml, .pem, .crt, .key, .conf, .cfg, .env, .ini, .toml
보안
서버는 붙여넣은 내용을 절대 실행하거나 평가하거나 셸로 전달하지 않습니다 - 받은 그대로 저장했다가 그대로 돌려줄 뿐입니다. 제3자 의존성 없음 (순수 Go 표준 라이브러리), 사용자 데이터로 파일 시스템에 접근하지 않음, 외부로 나가는 요청 없음.
제로 지식 암호화 (서버는 절대 내용을 볼 수 없습니다)
쓰기 탭의 방패 아이콘(🔒) 또는 터미널의 cpy -e는 위의 비밀번호와는 다른 계층입니다: 비밀번호를 사용하면 서버가 확인을 위해 잠시 직접 텍스트를 복호화합니다; 여기서는 암호화가 완전히 사용자 측에서 이루어지며 - 서버는 암호문 외에는 아무것도 보지 못합니다.
- 브라우저(또는 cpy -e)가 무작위 키를 생성합니다 - 이 키는 절대 기기 밖으로 나가지 않습니다.
- 텍스트는 이 키로 브라우저(WebCrypto AES-256-GCM) 또는 터미널(openssl)에서 암호화됩니다.
- 암호문만 서버로 전송되며, 서버가 저장하는 것도 그것뿐입니다 - 평문은 절대 보지 못합니다.
- 키는 링크의 #key= 부분을 통해 전달되거나(브라우저는 프래그먼트를 서버로 전송하지 않음) 터미널에서 pst -key=로 별도로 전달됩니다 - 링크나 코드만으로는 키 없이 아무 소용이 없습니다.
⚠️ 면책 조항: 이는 확인하지 않고 셸로 파이프하는(curl ... | bash) 위험을 없애주지 않습니다 - 이는 모든 공유 도구에 공통된 보편적인 위험이며, 이 서비스만의 특성이 아닙니다. 신뢰할 수 없는 출처에서 온, 검토하지 않은 명령을 절대 실행하지 마세요.
제한 사항
최대 크기: 2 MB · 코드: 6자리 · 자동 삭제: 기본 2분, 최대 1일까지 선택 가능 · 읽기: 기본 1회, 최대 10회
CPYNET v1.0 — 단일 파일, 단일 Go 바이너리 — 외부 데이터베이스나 의존성이 없습니다.