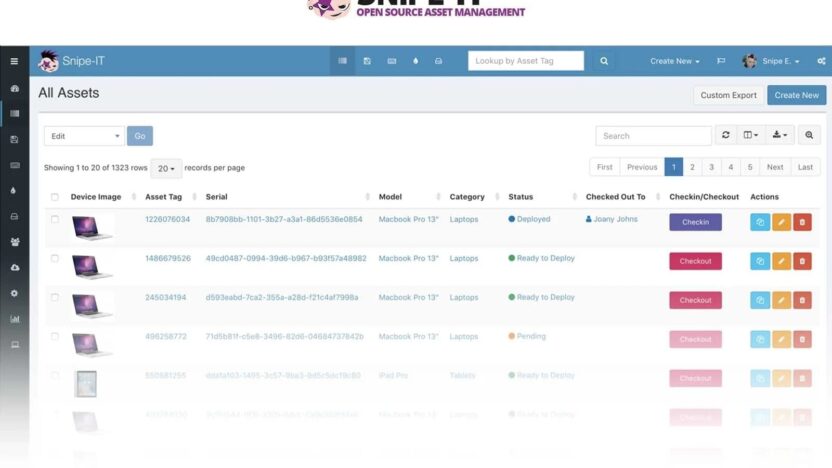
Snipe-IT is an open-source software designed for IT asset management. It helps you track hardware, software, and other assets in your inventory. With its user-friendly interface and powerful features, it assists IT teams in managing assets more effectively. Here are some of the key features of Snipe-IT:
Key Features of Snipe-IT:
- Asset Management: Easily track hardware, software, and other assets.
- User Management: Create user profiles to assign assets.
- Advanced Reporting: Generate detailed reports about your asset inventory.
- API Support: Provides a RESTful API for integration with other applications.
- Customizable Fields: Add custom fields based on your needs.
- Movement History: Track the history of assets and their movements.
Snipe-IT Installation
Below are the steps to install Snipe-IT:
Required System Requirements
- Web server (Apache or Nginx)
- PHP 7.3 or higher
- MySQL or MariaDB
- Composer
Installation Steps
- Prepare the Server: First, ensure that Apache or Nginx, PHP, and MySQL/MariaDB are installed on your server. You can install the necessary components with the following commands:
sudo apt update
sudo apt install apache2 php php-mysql php-xml php-mbstring php-curl php-zip php-json mysql-server- Download Snipe-IT: Clone the latest version of Snipe-IT from GitHub.
git clone https://github.com/snipe/snipe-it.git
cd snipe-it- Install Dependencies with Composer: Use Composer to install the required dependencies.
composer install --no-dev- Create the .env File: Copy the example
.envfile and edit it.
cp .env.example .env
nano .env
Don’t forget to configure the database settings in the .env file:
DB_CONNECTION=mysql
DB_HOST=127.0.0.1
DB_PORT=3306
DB_DATABASE=snipeit
DB_USERNAME=your_username
DB_PASSWORD=your_password- Set Up the Database: Create the Snipe-IT database and generate the necessary tables.
php artisan key:generate
php artisan migrate- Set File Permissions: Set the required permissions for the directories.
sudo chown -R www-data:www-data /path/to/snipe-it
sudo chmod -R 755 /path/to/snipe-it/storage
sudo chmod -R 755 /path/to/snipe-it/public- Configure the Web Server: Configure Apache or Nginx to allow access to Snipe-IT’s web interface.For Apache:
ServerName cpynet.com
DocumentRoot /path/to/snipe-it/public

<Directory /path/to/snipe-it/public>
    AllowOverride All
</Directory>

ErrorLog ${APACHE_LOG_DIR}/snipe-it-error.log
CustomLog ${APACHE_LOG_DIR}/snipe-it-access.log combined
For Nginx:
server {
    listen 80;
    server_name cpynet.com;
    root /path/to/snipe-it/public;

    location / {
        try_files $uri $uri/ /index.php?$query_string;
    }

    location ~ .php$ {
        include snippets/fastcgi-php.conf;
        fastcgi_pass unix:/var/run/php/php7.3-fpm.sock;
        fastcgi_param SCRIPT_FILENAME $document_root$fastcgi_script_name;
        include fastcgi_params;
    }
}- Restart the Web Server: Restart the web server to apply the changes.For Apache:
sudo systemctl restart apache2Or for Nginx:
sudo systemctl restart nginx- Launch Snipe-IT: Open your browser and go to
http://cpynet.comto access Snipe-IT’s web interface. Follow the setup wizard to complete the initial configuration.
Conclusion
Snipe-IT is a powerful tool that simplifies IT asset management. By following the steps above, you can quickly set up your own Snipe-IT server and start managing your assets.


